Hexo+icraus博客搭建过程
本文将记录该博客创建过程。使用hexo博客框架,icarus主题。
本项目github仓库地址:
https://github.com/duerwuyi/duerwuyi.github.io
Hexo官网:https://hexo.io/zh-cn/
icraus官方文档及预览:https://ppoffice.github.io/hexo-theme-icarus
icarus的github仓库地址:https://github.com/ppoffice
一、写在前面
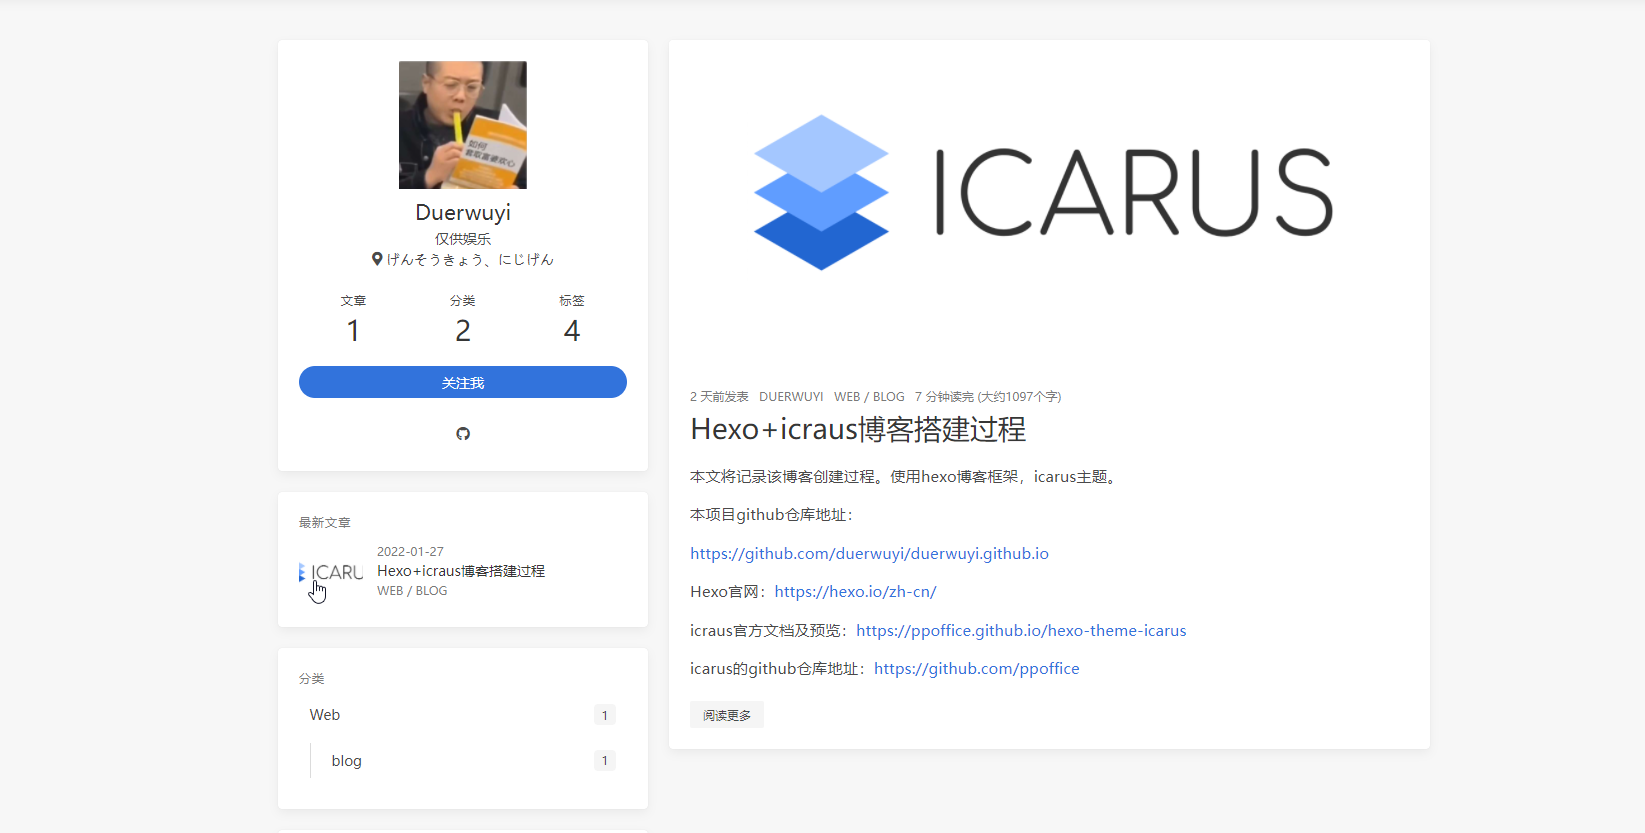
写这篇文章时,整体网站搭建如下:

此时,项目已部署到Github pages。
框架:使用hexo博客框架,icarus主题。该主题的完成度非常高,三栏的布局模式使主页面有着爆炸的信息量,简约的设计风格又不让人感觉冗余。
然而此时博客内的文章只字未写,且对于博客系统的改造还未开动。因此写下此篇博文,边撰写边对该项目进行魔改。
第二部分将简略记录框架搭建+服务器部署+基本配置方面的内容,第三部分将同步解决后续的各类问题。
二、前置准备
略,有空填坑。(防止忘记:这一部分主要是关于Hexo的npm安装和命令,Git配置,部署到github pages,以及config.yml的修改)
先贴出hexo的readme:
Create a new post
1 | $ hexo new "My New Post" |
More info: Writing
Run server
1 | $ hexo server |
More info: Server
Generate static files
1 | $ hexo generate |
More info: Generating
Deploy to remote sites
1 | $ hexo deploy |
More info: Deployment
三、静态界面修改
静态图像
在 icraus/source/img下修改图片,里面有着静态图片资源如logo(网站左上角),头像等。
在_config.icarus.yml中可以修改路径:
1 | logo: /img/logo.svg |
修改图标也是一样,使用下方的路径,将图标变为流汗黄豆。
1 | favicon: /img/favicon.ico |
widgets
个人信息栏在_config.icarus.yml中的widgets处。下方的代码为原始配置。(已自动折叠)
1 |
|
此外,这种自动折叠的代码的markdown语法如下:
1 | $ ``` [language] [title] >folded |
复制后把$ 去除。
在widget的profile配置中,下方链接栏仅保留了github。
除此以外,widgets还用-作为分割,分别配置了左右处的所有卡片,其中type一项代表了这个卡片的类型。

然而,在widgets中有一项toc,也就是目录卡片却并未渲染,因为文章头部未添加toc: true。
想要每篇文章自动添加此头部,可在 scaffolds/post.md 中添加一行toc: true。
最后再更改一下布局,把个人信息相关全都放在左栏,目录放在右栏。
项目的Github链接
ctrl+f在yml文件中搜索“navbar:”,然后直接修改即可。
about页面
命令行执行
1 | hexo new page "about" |
就会新建一个about页面,通过头部导航栏访问,页面内容保存在source/about/index.md中。
创建新页面也是一样的方法。此时在yml文件中的menu处添加跳转即可。
1 | navbar: |
主页的文章概览
使用more来截断文章,截断前的部分为主页概要。
1 | <!-- more --> |
在文章头部添加cover: 和thumbnail: 可以添加概要部分的展示图片。(手机端似乎不显示)已解决:要用绝对网址。

gittalk评论功能。
gittalk评论功能使用了来自第三方的评论区。使用github账户开通该应用,就可以利用仓库的issue功能来实现评论区内容的存储。
详情请看:
icrus官方文档-gittalk插件
注意Outh应用的主页和回调网址要写全!
开通完毕后在底部的评论区用author账号完成初始化后该文章将开通评论。
1 | comment: |
卜蒜子 记录访问量
将plugins > busuanzi设置为true来开启不蒜子访客计数器并在网页尾部和每篇博文的头部展示访问次数。
Hexo+icraus博客搭建过程
https://duerwuyi.github.io/2022/01/27/blog-building-process/


